What is Clamshell Mode
For anyone who isn’t familiar with clamshell mode and how to operate a laptop in clamshell mode, then fret not - we’ll break down what this means and why it’s useful. Put simply, clamshell mode is an Apple supported configuration that allows you to treat your laptop like a desktop tower, disabling the laptop’s built-in screen, keyboard, trackpad and speakers so that you can help preserve those built-in components while using larger, more powerful and more ergonomic external monitor, keyboard, trackpad/mouse, speakers, and any other accessory you require to create a full featured desktop workstation for your office setup.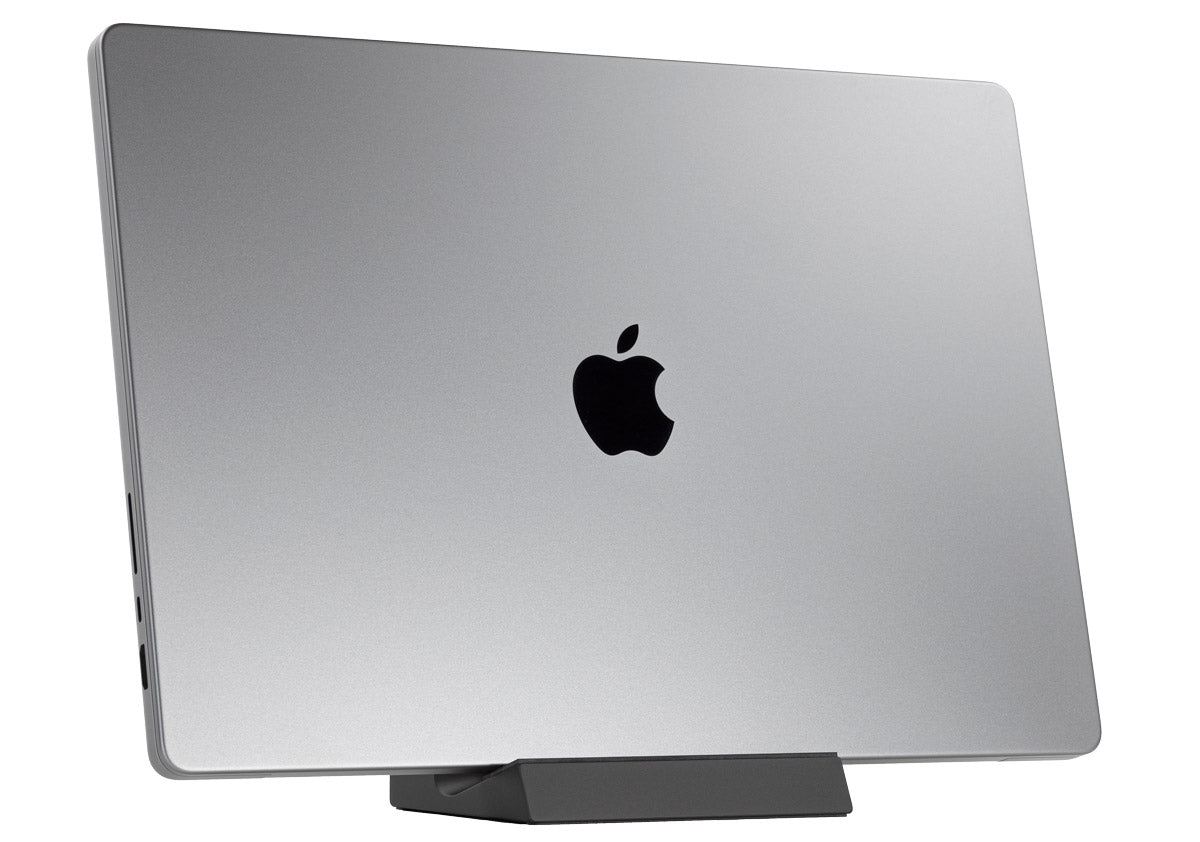
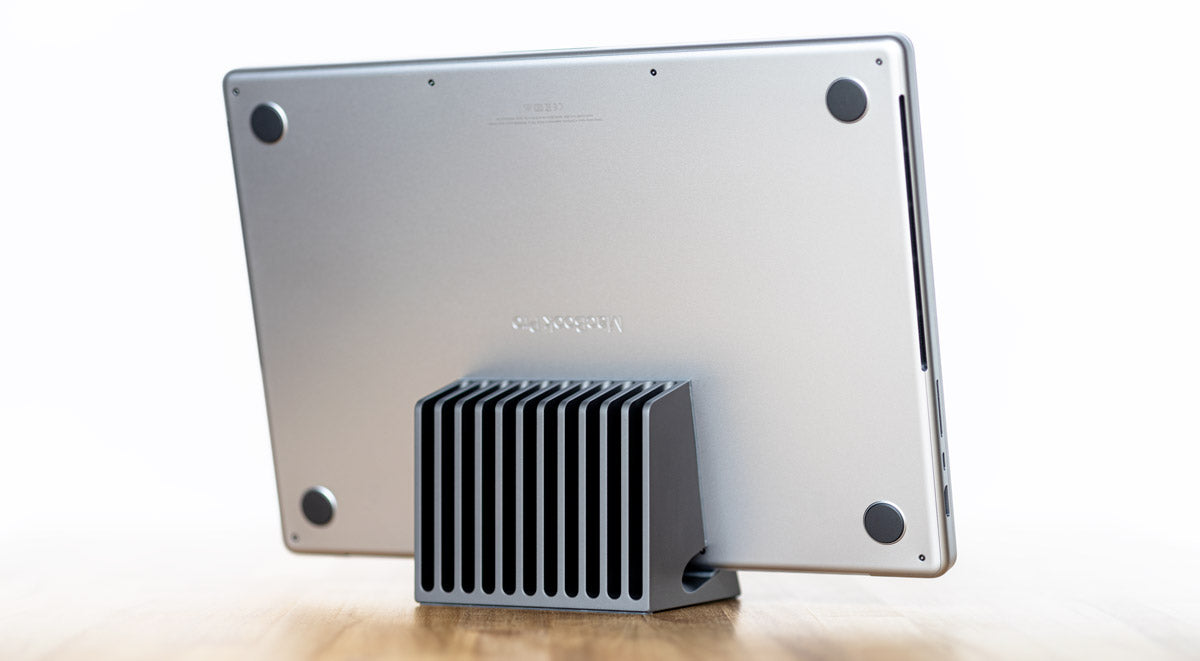
Why is Cooling Important in Clamshell Mode
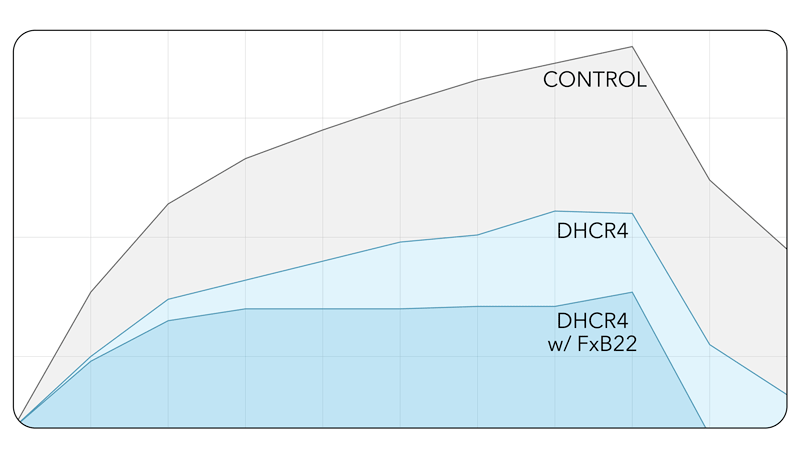
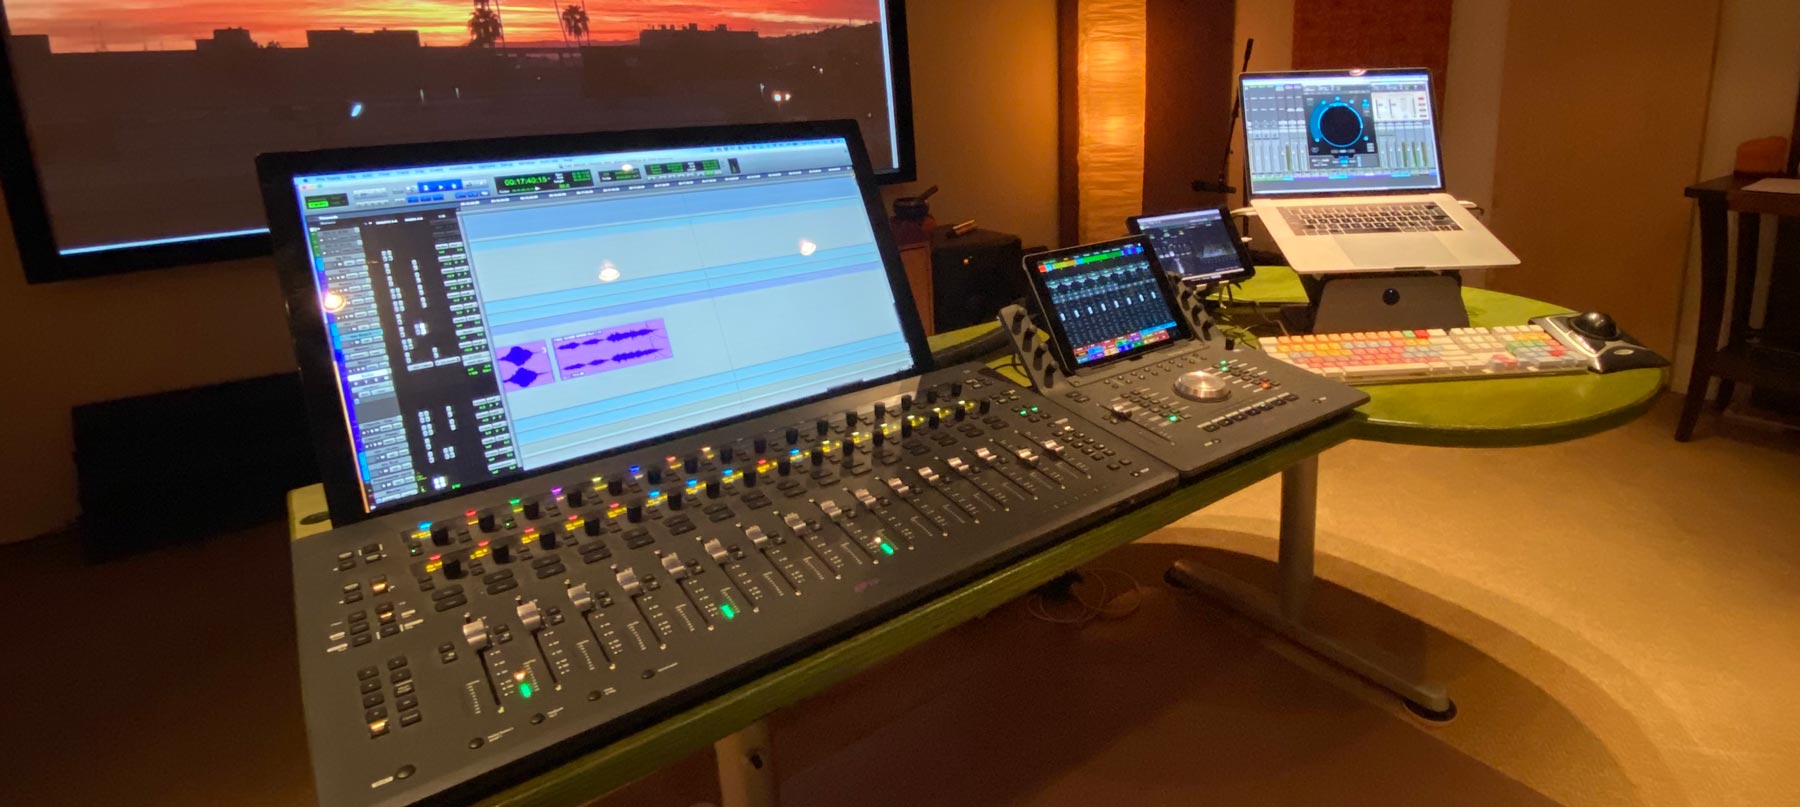
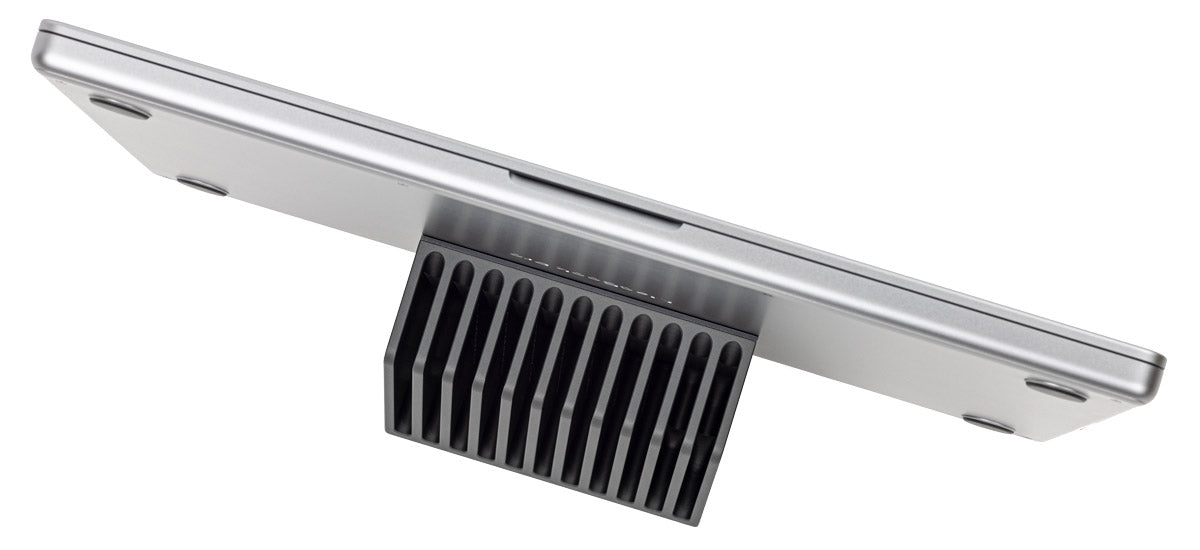
Running a laptop with the screen-closed in clamshell mode can reduce the laptop’s built-in cooling system’s ability to remove heat and avoid processor throttling. Adding one or more high-resolution external monitors further strains the laptop's cooling system. The SVALT Cooling Dock product line was developed to address these issues with clamshell mode so that professionals can regain system temperature stability and sustain peak performance potential. In addition to cooling, the Cooling Dock product line uses an innovative leaning vertical configuration for increased support stability with a wide variety of laptop sizes. This configuration makes the process of enabling clamshell mode easier by allowing a user to open the screen and access the power button while the laptop is connected to cables and safely resting within a padded cradle. See Laptops to learn what SVALT models have been optimized to provide the best cooling performance for your laptop model.
How to Set Up and Operate in Clamshell Mode
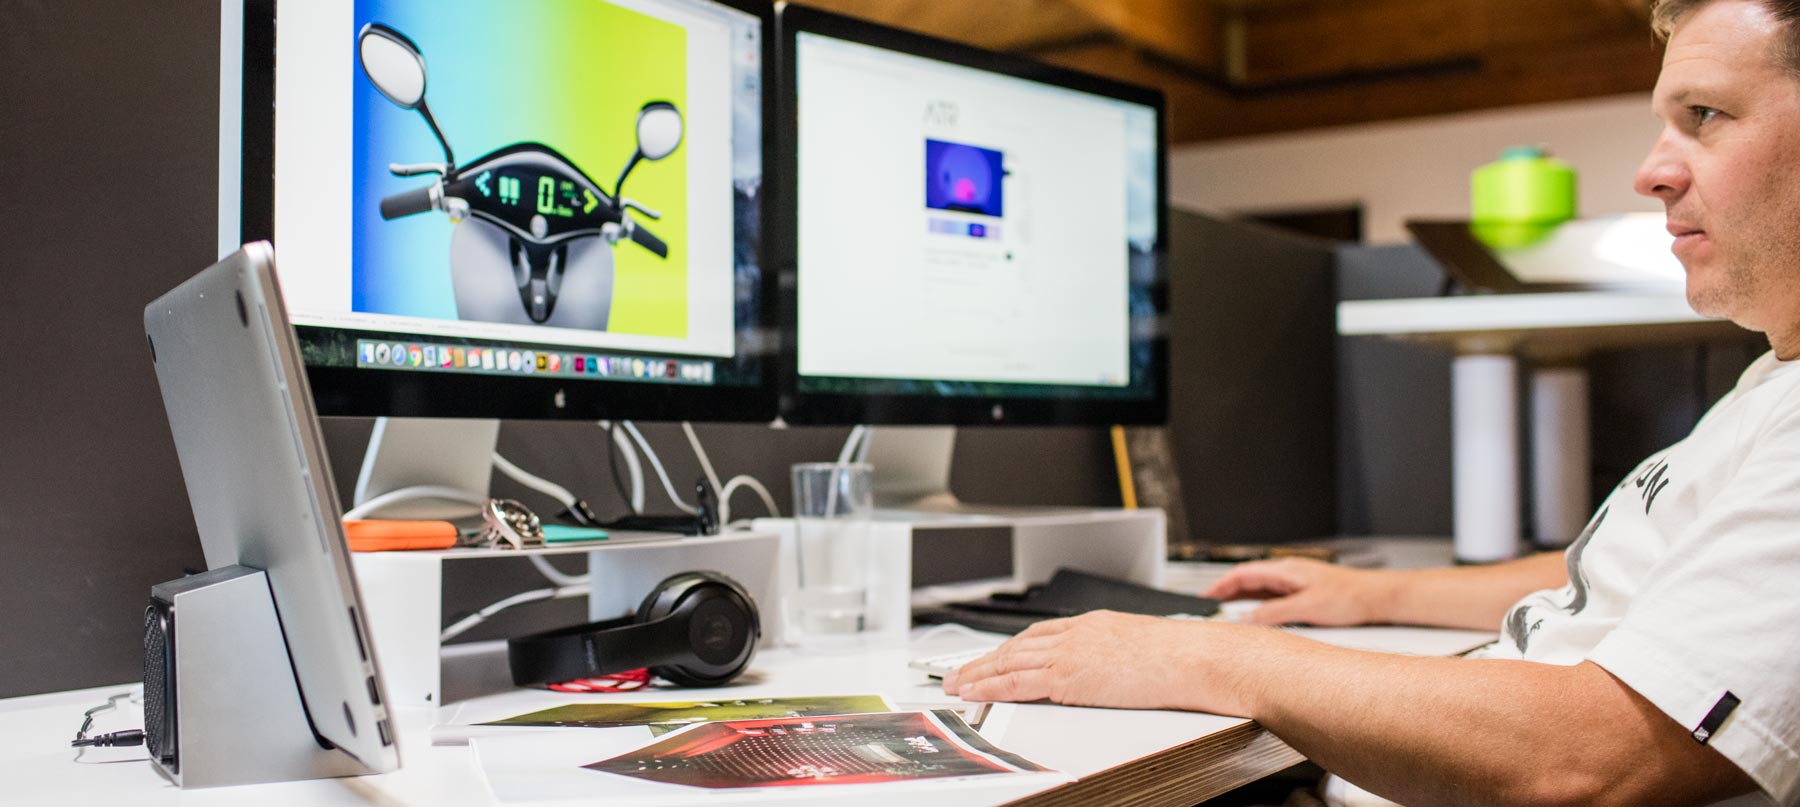
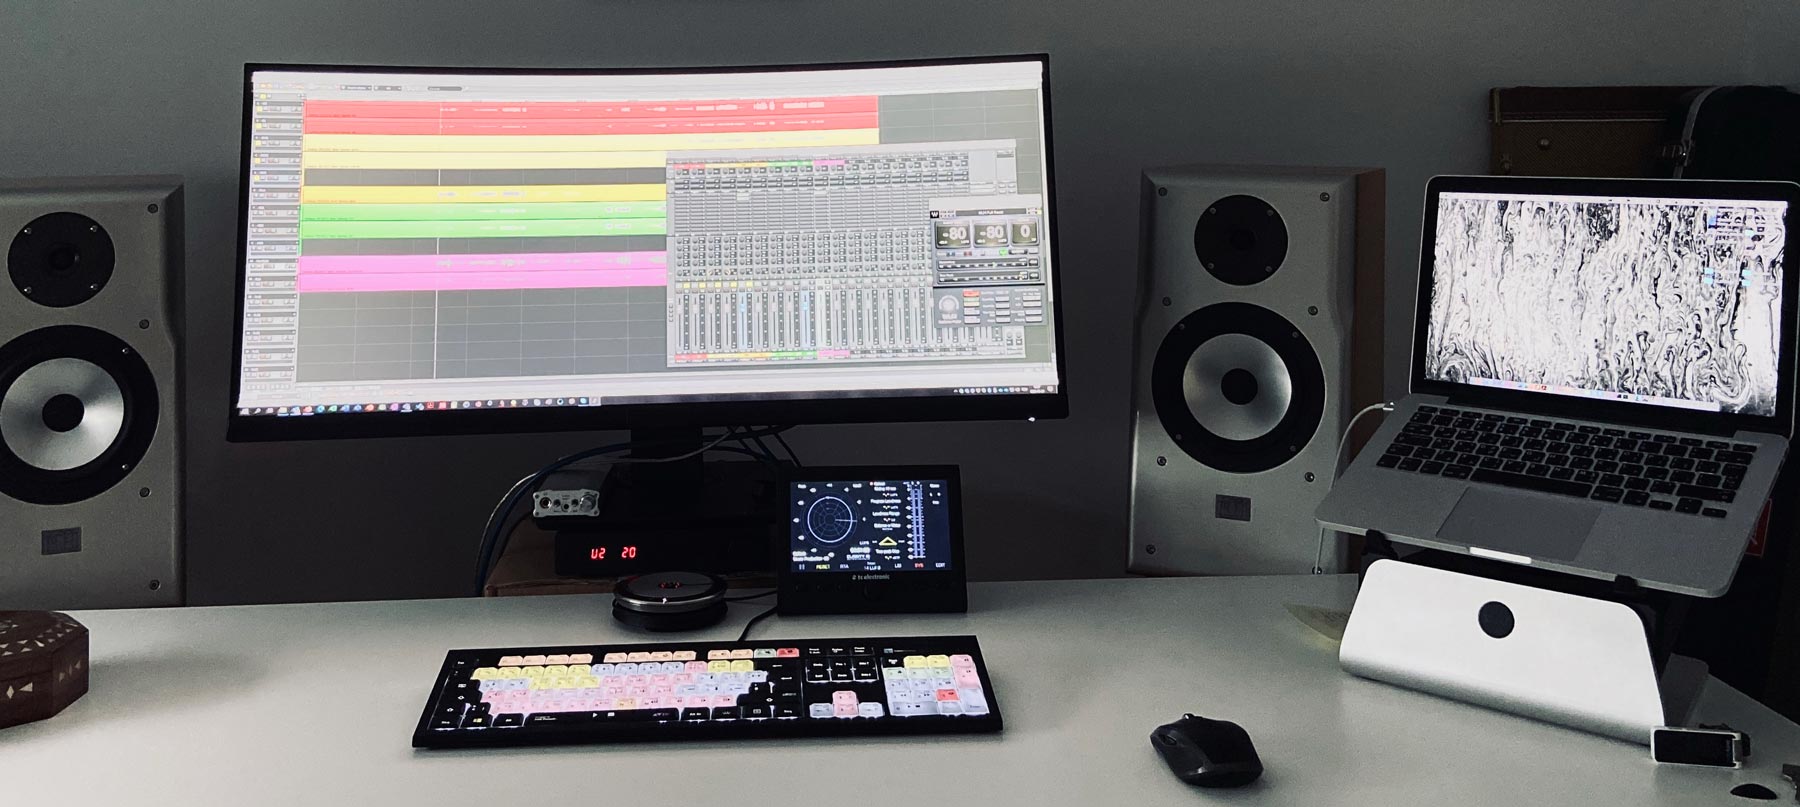
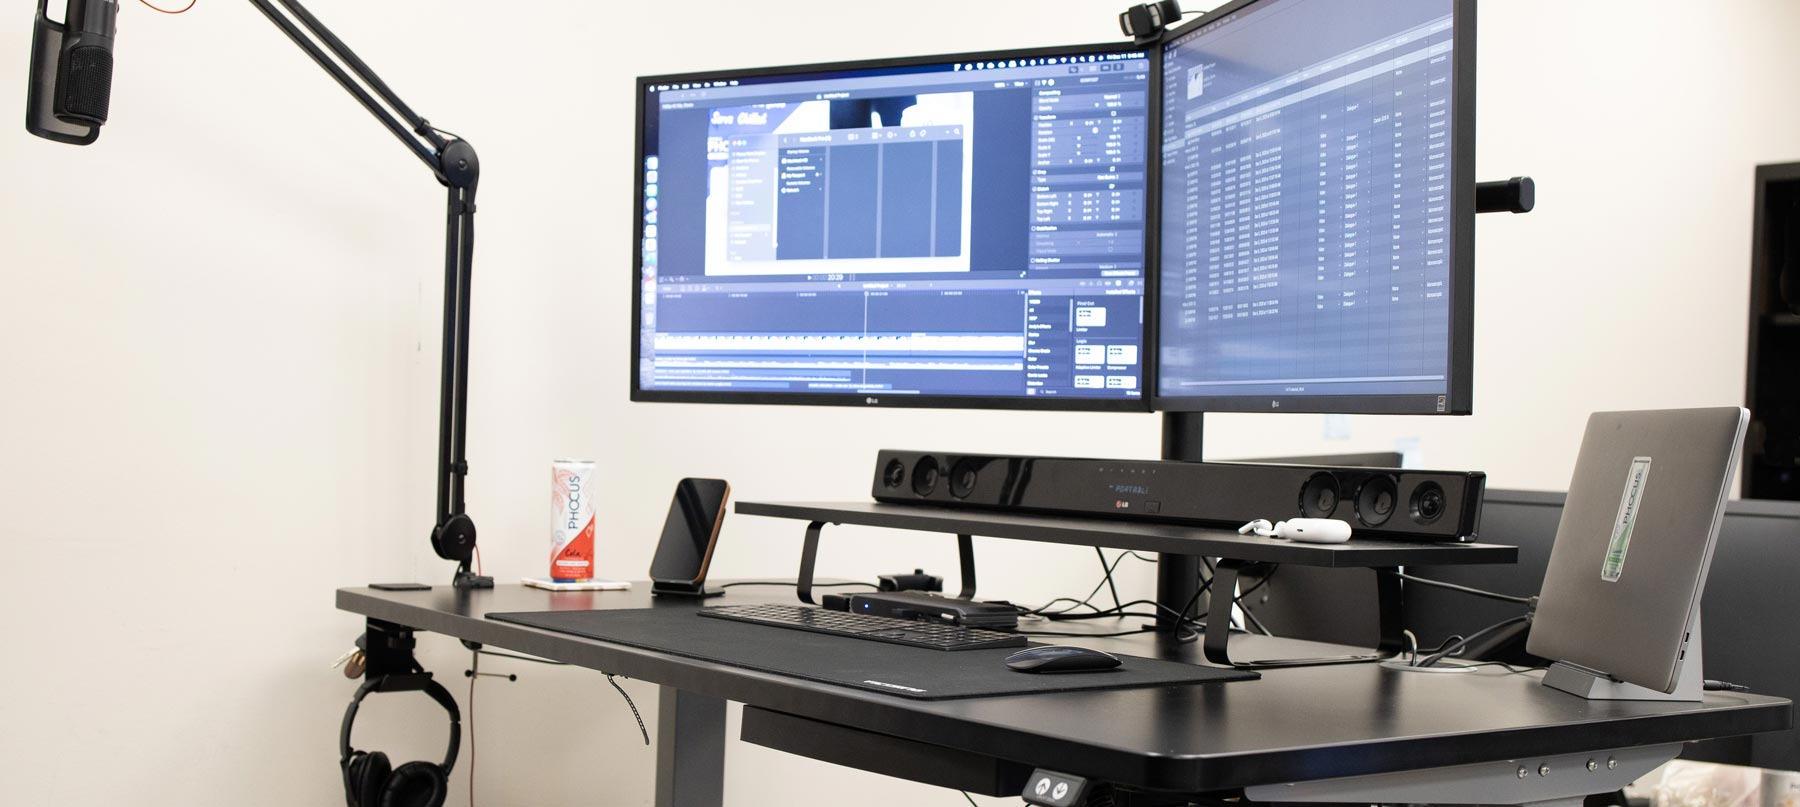
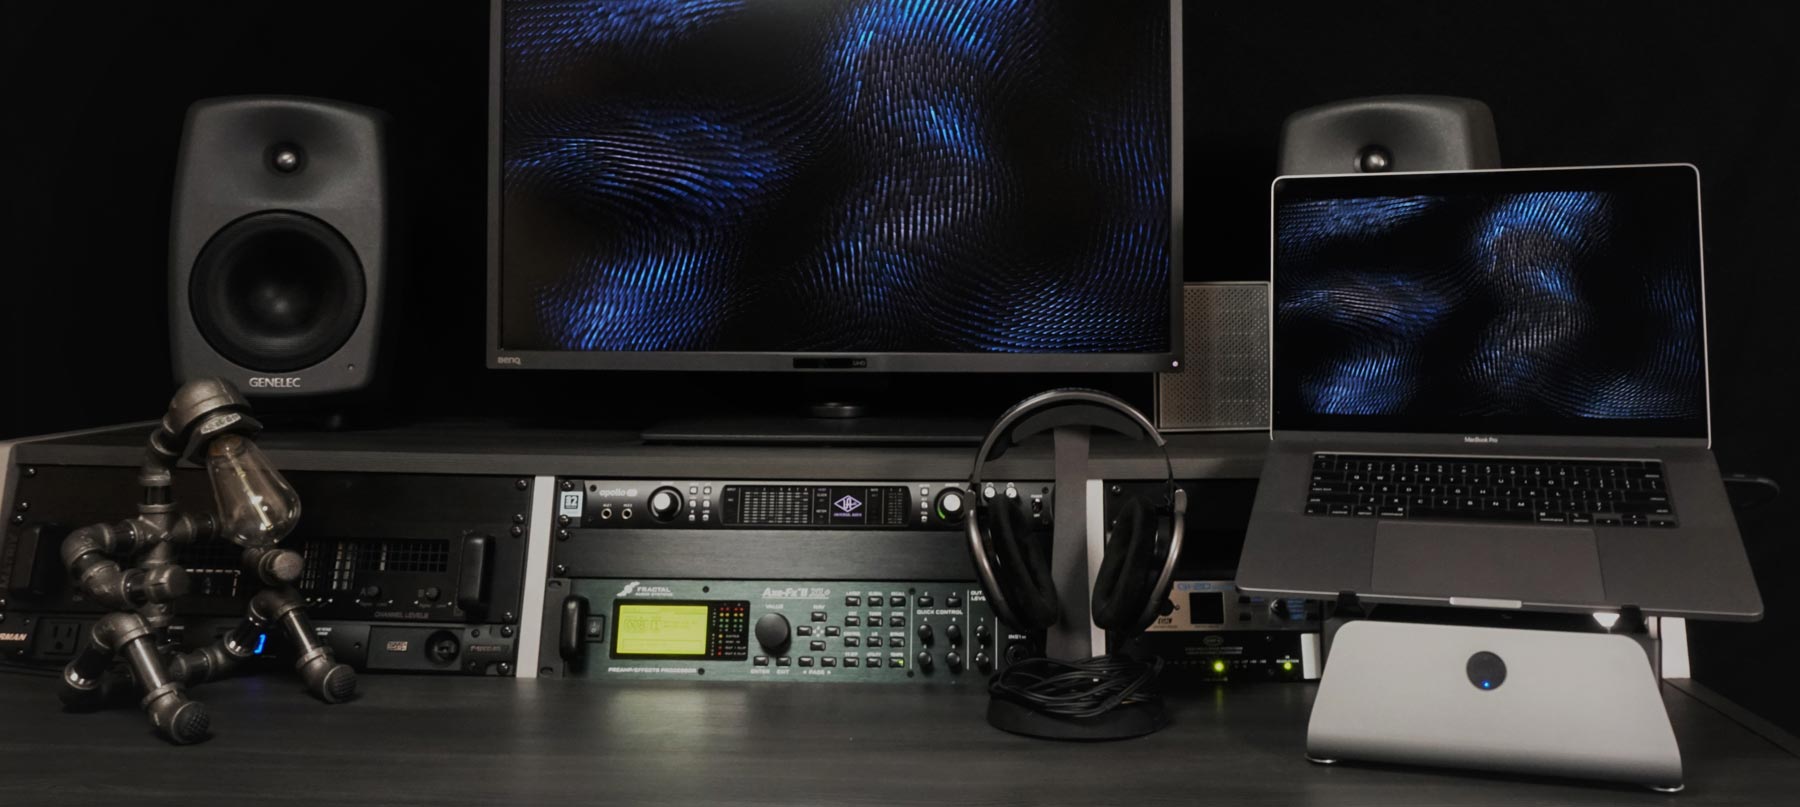
Step 1: Connect External DisplayConnect one or more external displays or a projector to your laptop. Clamshell workstations disable the laptop’s built-in screen to help optimize graphics performance for driving multiple full-sized and high-resolution external displays. Disabling the laptop’s screen also helps to preserve the screen and helps free up system power for the processors to use, which in turn helps to avoid performance throttling induced by a limited power supply when running top-end CPU and GPU processors at maximum speeds. Two or more external displays can be placed side-by-side to provide a cleaner digital desktop setup, and these displays can be located at eye level to avoid looking down and help improve workstation ergonomics. The laptop’s supported display connection type, resolution and compatibility will depend on your laptop model. If you are using a new external display for the first time and are not familiar with enabling clamshell mode, then setup the new display with the laptop screen open before attempting to initiate clamshell mode.
Step 2: Connect External Keyboard and Mouse
Connect a wired or wireless (Bluetooth) keyboard, as well as a wired or wireless (Bluetooth) mouse, gaming mouse, trackball, trackpad, drawing surface or other curser/pointer input type device to your laptop. Clamshell workstations allow you to use an input device of your preference while providing required functionality and improved workstation ergonomics. Note that if you choose to use a Bluetooth device, then you will need to establish a Bluetooth connection pairing before attempting to enable clamshell mode for the first time. After the initial Bluetooth setup, you will need to make sure the laptop’s Bluetooth is turned on and the input devices are turned on to enable clamshell mode. For help with Bluetooth pairing see Apple’s article Set up your Magic Keyboard, Mouse, or Trackpad.
Step 3: Connect External Laptop Power Supply
Connect an external power supply to your laptop. Using the original Apple power supply that shipped with your laptop (or a genuine Apple replacement) is recommended so that your laptop has full and reliable power supply. Alternatively, some external display connections can provide power, but make sure it provides sufficient and reliable power for your laptop model. Compared to a normal desktop system, clamshell workstations include an internal battery that acts as an Uninterrupted Power Supply (UPS) to protect the laptop from data loss and system corruption in cases of power loss. Note that a UPS should not be used to provide laptop power, but a surge protector is still recommended. See Apple’s article Troubleshooting MagSafe Adapters for an explanation of why a UPS should be avoided when using a laptop. If power is lost or cables are accidentally disconnected while in clamshell mode, then the laptop will enter sleep mode, requiring a normal sleep wake procedure as described in the next step 4 below.
Step 4: Enable Clamshell Mode on Your Apple Laptop
Once the above three components are connected in sequence, then do one of the following based on your laptop configuration:
- If the laptop is SHUTDOWN, then startup laptop. Newer laptops like the 2021+ 16-inch and 14-inch MacBook Pro with Apple Silicon chips startup automatically by connecting the power supply when the screen is open, or by opening the screen if it is closed. Older laptops like the 2016-2020 Touch Bar MacBook Pros may automatically startup in clamshell mode by connecting the power supply with the screen closed, automatically start by opening the screen, or may require an additional step of pressing the power button to startup. Once the Apple logo appears, then the screen can be closed and the remainder of the startup will proceed through the external monitor using the external keyboard/trackpad/mouse (note that you may need to press the external spacebar and/or click the external trackpad/mouse a few times to establish a Bluetooth connection for login). Alternatively, you can leave the laptop screen open and complete startup and login through the laptop, and then initiate clamshell mode simply by closing the screen on newer laptops, or on older laptops by shutting the screen and pressing the external keyboard spacebar.
- If the laptop is ASLEEP, then wake laptop. Newer laptops like the 2021+ 16-inch and 14-inch MacBook Pro with Apple Silicon chips wake from sleep automatically by opening the screen, but if the screen is already open or if using an older laptop, then an additional step of pressing the laptop’s spacebar may be required to wake from sleep. Once the external display has been activated, then newer laptops automatically initiate clamshell mode by closing the screen. Older laptops may require an additional step of pressing the external keyboard’s spacebar after closing the screen to initiate clamshell mode.
- If the laptop is AWAKE, then wait for the external display to activated. Newer laptops like the 2021+ 16-inch and 14-inch MacBook Pro with Apple Silicon chips automatically initiate clamshell mode by closing the screen. Older laptops may require an additional step of pressing the external keyboard’s spacebar after closing the screen to initiate clamshell mode.
Step 5: Disable Clamshell Mode
Disable clamshell mode by using one of the following methods:
- Use SHUTDOWN to disable clamshell mode. Go to the Apple logo at the top left corner of the screen and select “Shut Down…” and once powered off you can either leave the connections in place to resume clamshell mode at a later time or you can disconnect the cables for mobile use.
- Use SLEEP to disable clamshell mode. Go to the Apple logo at the top left corner of the screen and select “Sleep” and once asleep you can either leave the connection in place to resume clamshell mode at a later time or you can disconnect the cable for mobile usage. Note that disconnecting the cables (power and/or monitor) while running in clamshell mode will automatically enter sleep, however, using the menu to enable sleep before disconnecting cables is recommended to reduce issues with external storage devices or working from the cloud.